Media Management in Final Cut Pro
This article describes how you can organize and prepare the material to be sent to the colorist from the Final Cut Pro editing program.
First of all, you need to make sure that in your sequence all the clips are collected on one track. Decompound must be done for all compound/nested clips.
It is also necessary to disable all effects, speedramps, sizing/croppind, keyframes, transitions and titles, as well as it is necessary to disable all color correction, LUTs for transformation LOG -> Rec709
1.XML export. To do this, go to File > Export XML
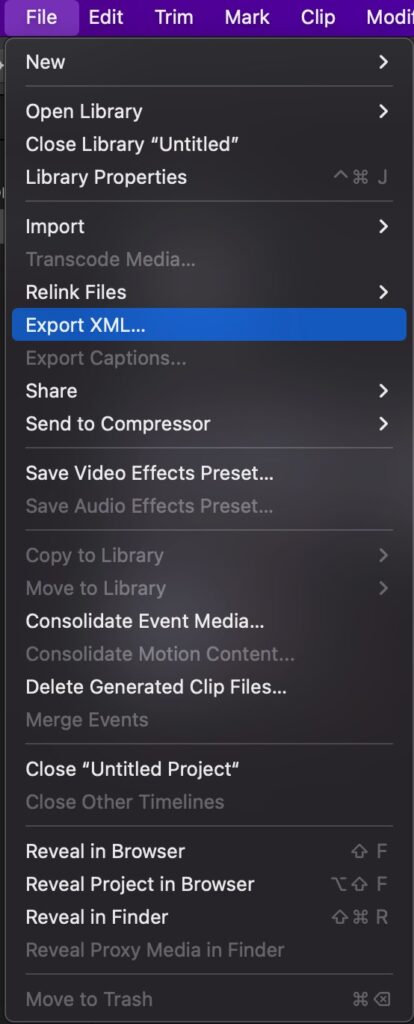
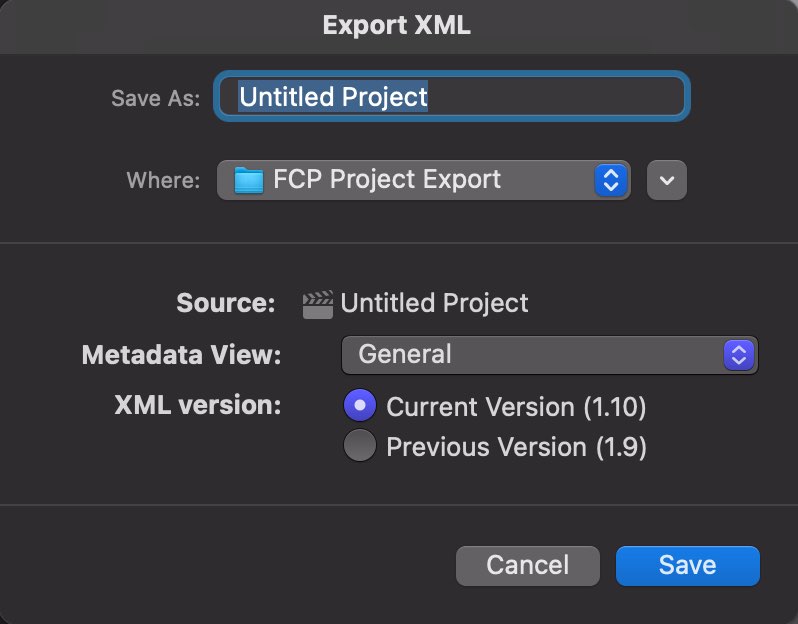
Specify the name and location where to save your XML file. Click “OK”. Ready!
2.Export Offline Reference Video. This reference video is an export of your timeline.
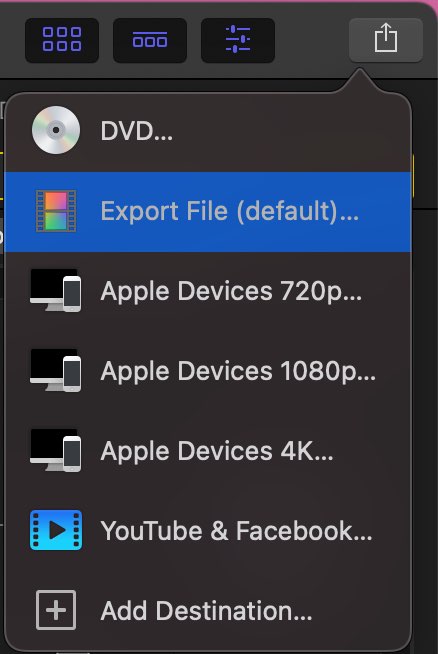
Next, export the video using Share in the upper right corner, or through the menu File > Share > Export File (default):
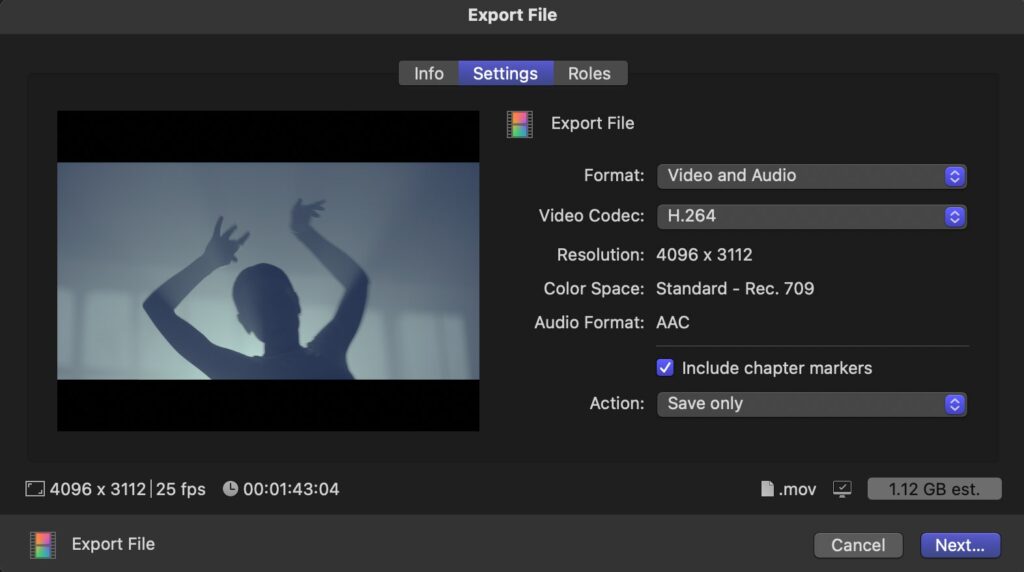
Specify the parameters as in the screenshot:
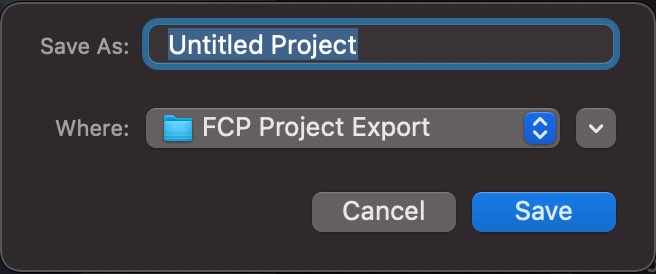
Click Next and specify a place to save:
After the rendering is completed, the file must be copied to the same directory (you can create a subfolder “Reference file”) where the XML file created in the previous step is located.
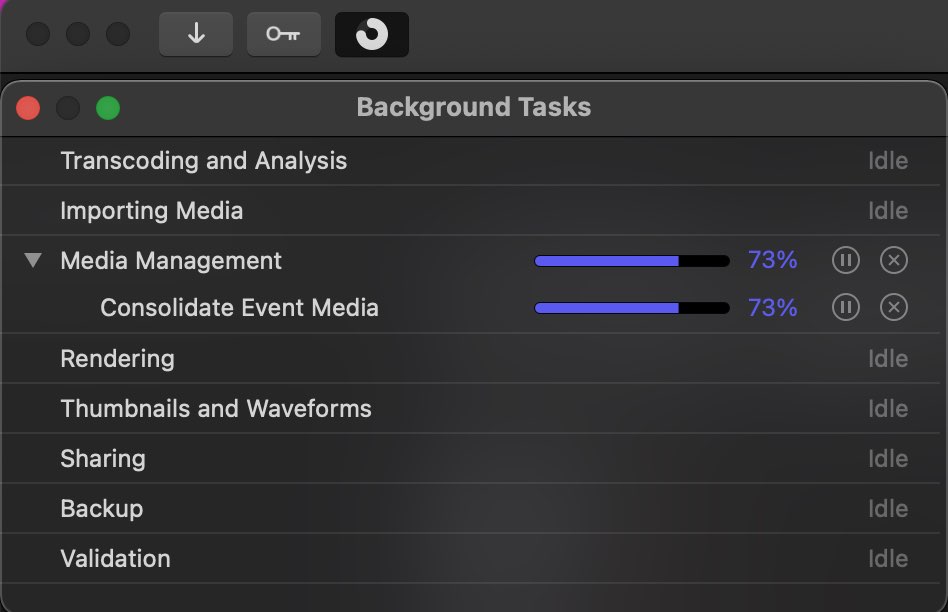
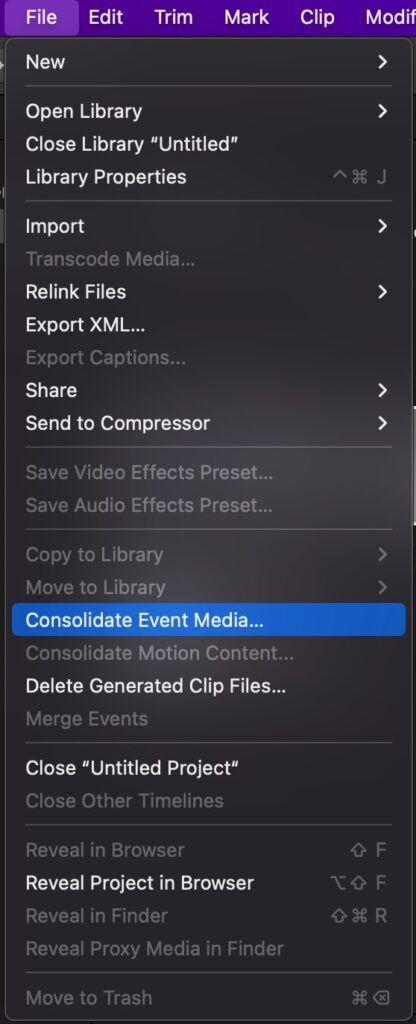
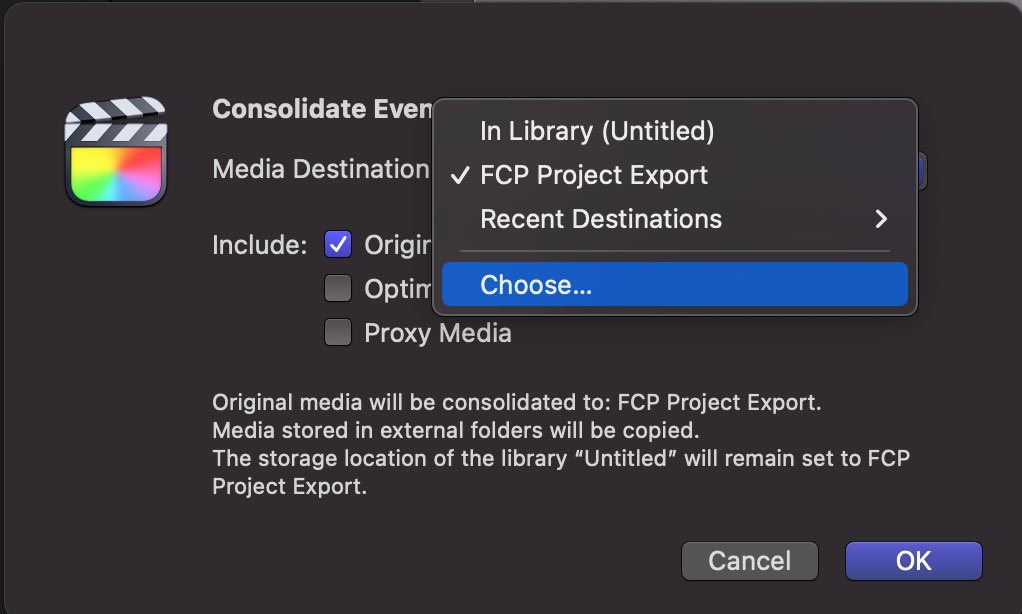
3.Next, we need to consolidate all the raw material. To do this, you need to select any clip on the timeline. Next, go to File > Consolidate Event Media…
Specify the settings as in the screenshot:
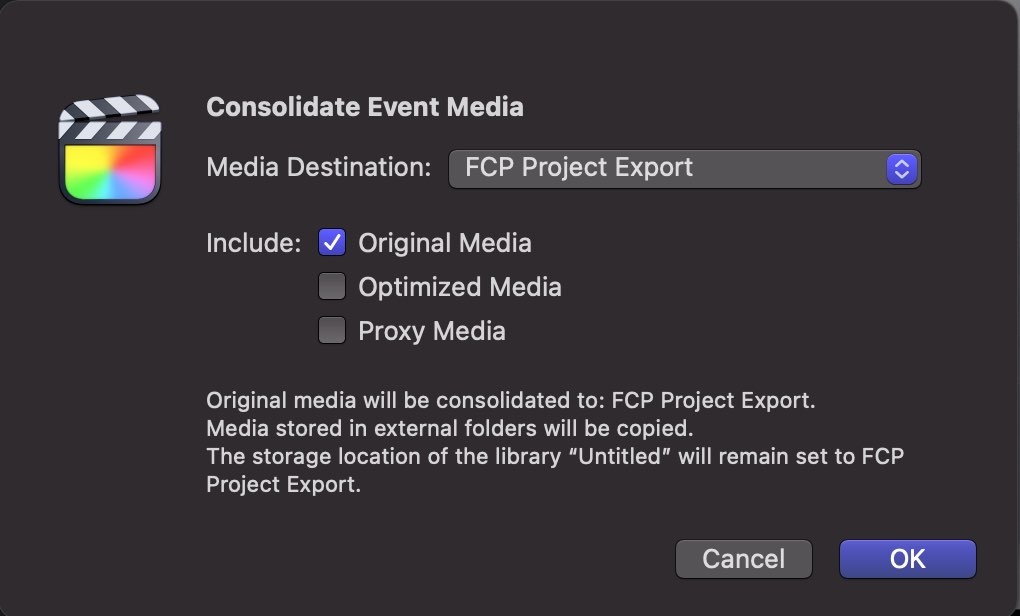
Select the location. It is possible and desirable to specify the same folder where the XML and Reference file are located.
After the copying is completed, the files are ready to be sent to the colorist.